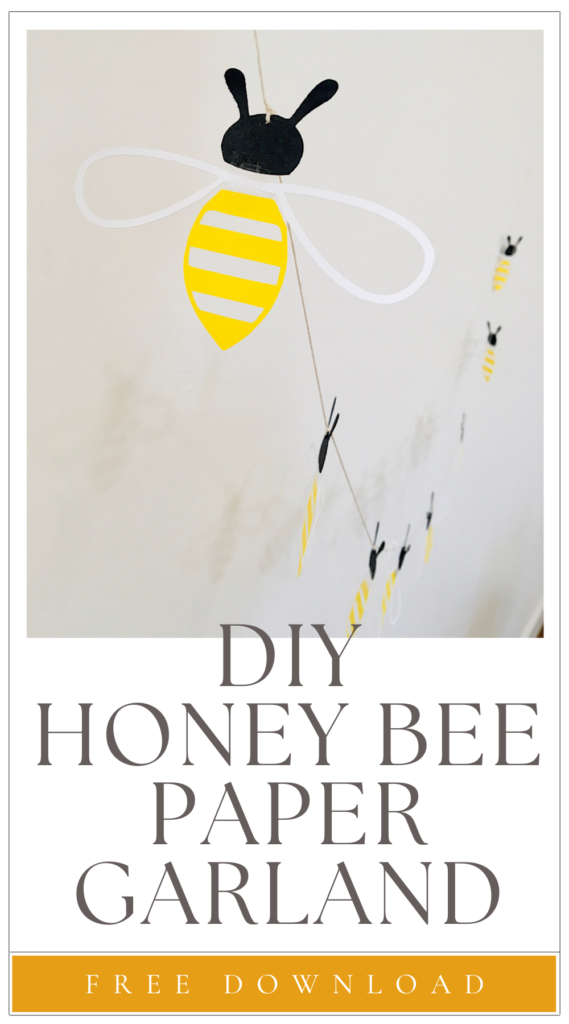
You will love how easy and cute this Honey Bee garland is to put together with a Cricut machine, plus a printable option for those without a Cricut.
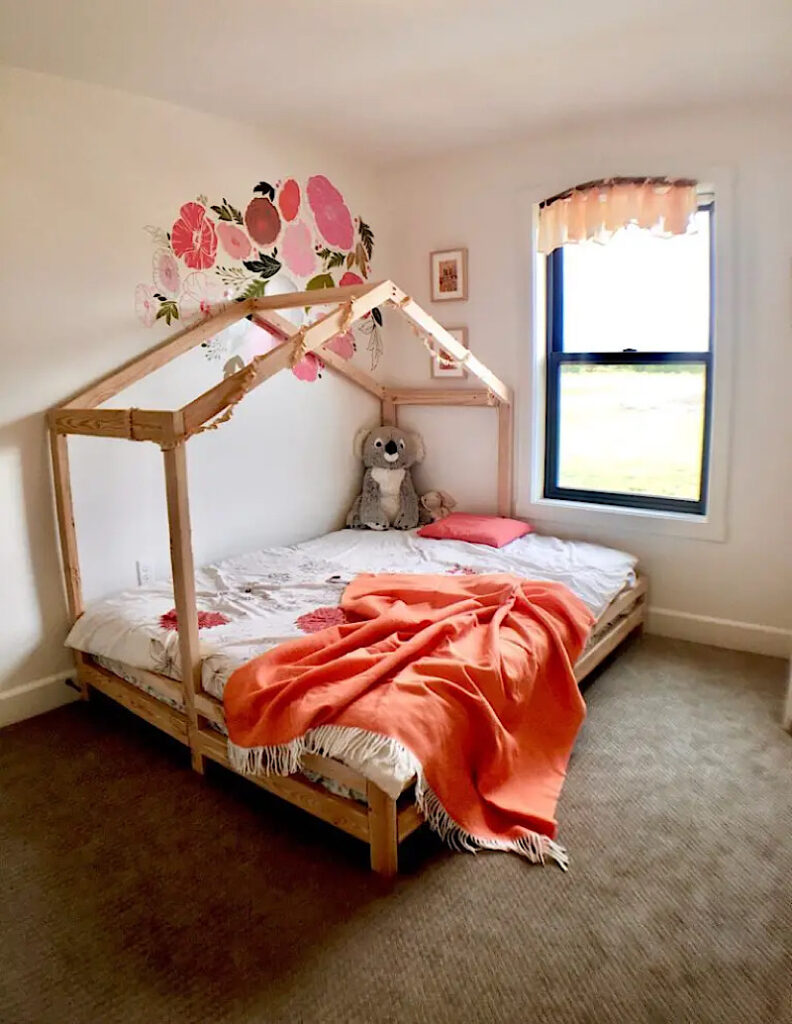
This honey bee garland is great way to decorate for a Bee themed party or even a Pooh Bear themed party decoration! Of course you can always just make it as a fun spring/summer craft like I did (I hung it in my craft room.)
This Cricut craft creates a really elegant outline of a bee, but for those of you who don’t have a Cricut machine I also have a printable version with black wings that you can simply print on white paper, then use scissors to cut around the perimeter.
The printable version won’t have the same cut-out look, but it will still be cute!
Supplies Needed
- Cricut machine
- Yellow, Black, and White Cardstock
- Clear Tape
- String (I used embroidery floss. Make sure what you use is small enough to fit through the size of hole you make)
- Scissors
- Hole Punch (the smaller the better, I used a 1.5 mm hole like this one.)
- Bee Cutting Template (Download it below)
How To Make A Honey Bee Garland
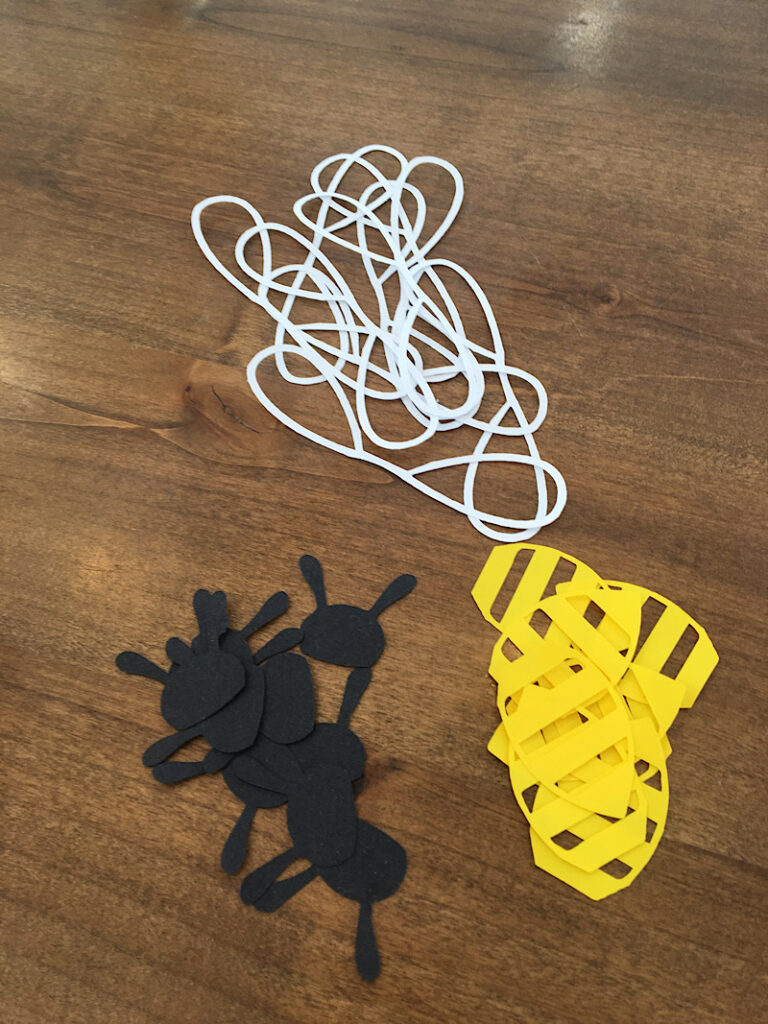
Step 1. Cut Out The Paper
Download the free bee garland template below. The Cricut cut version has spaced out pieces for easy cropping in Cricut Design Space. The printable version has four on a page.
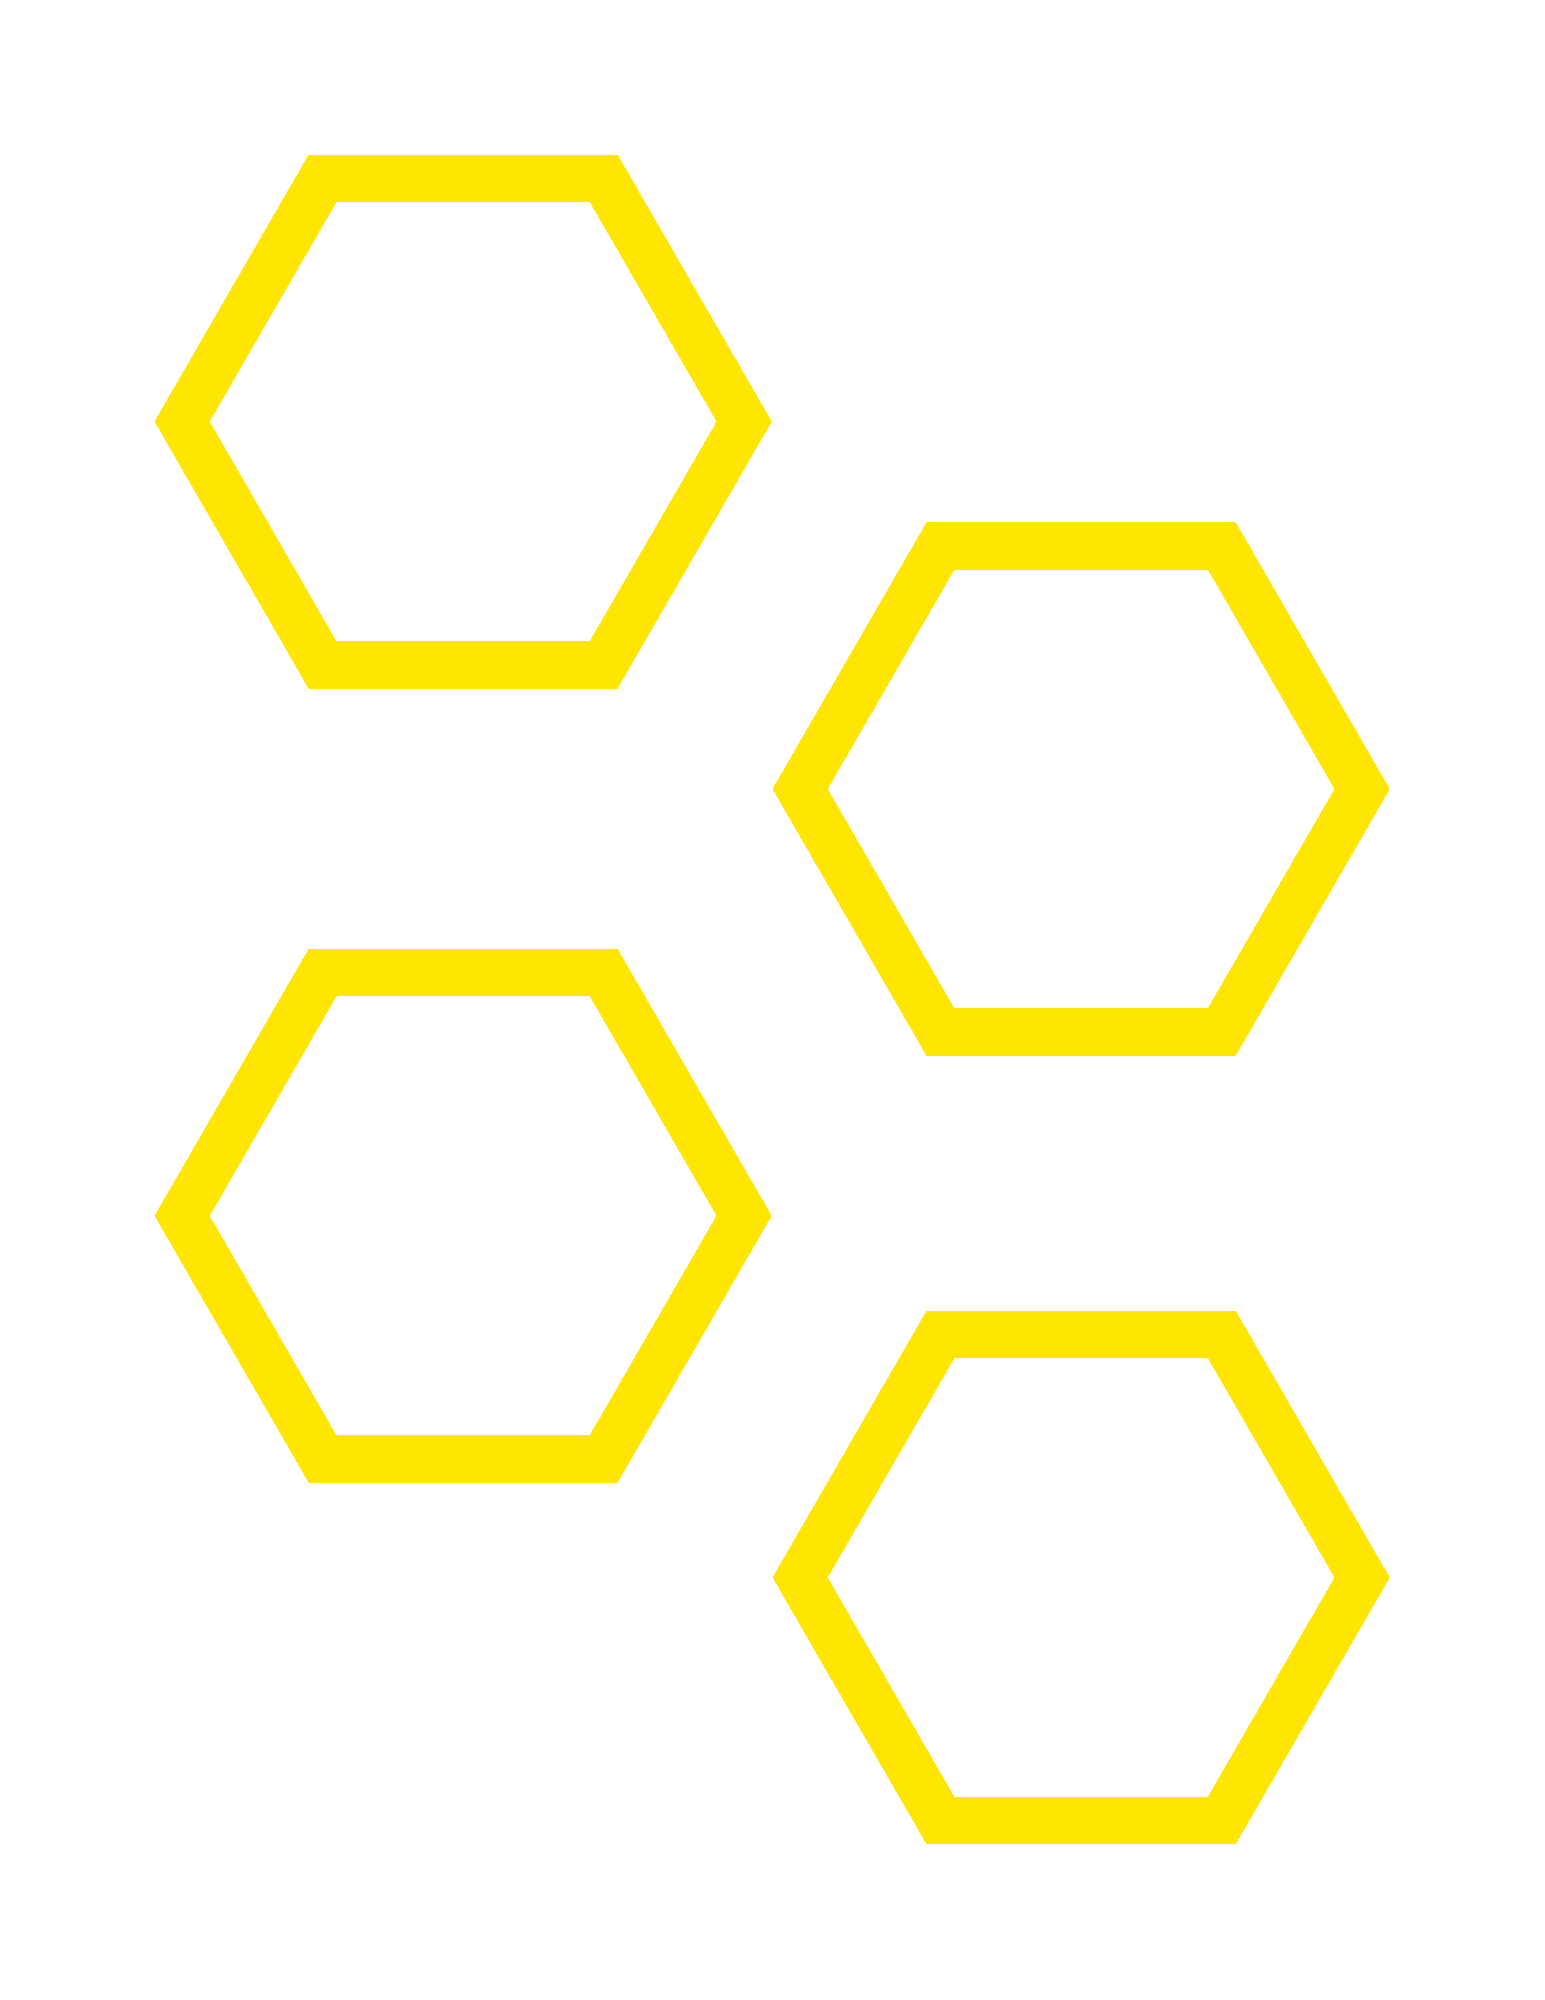
I have also included a honeycomb page that you can use on your garland for a cute variation.
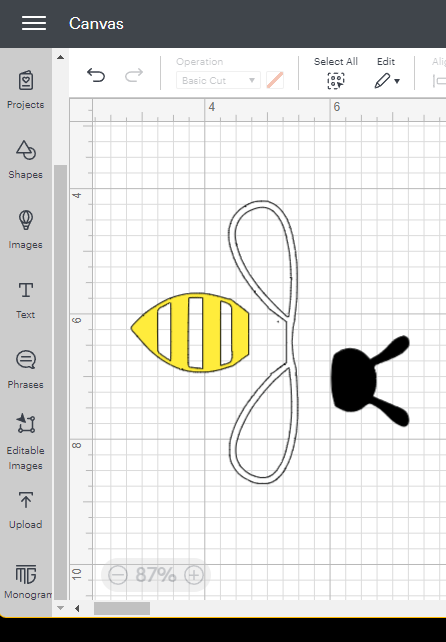
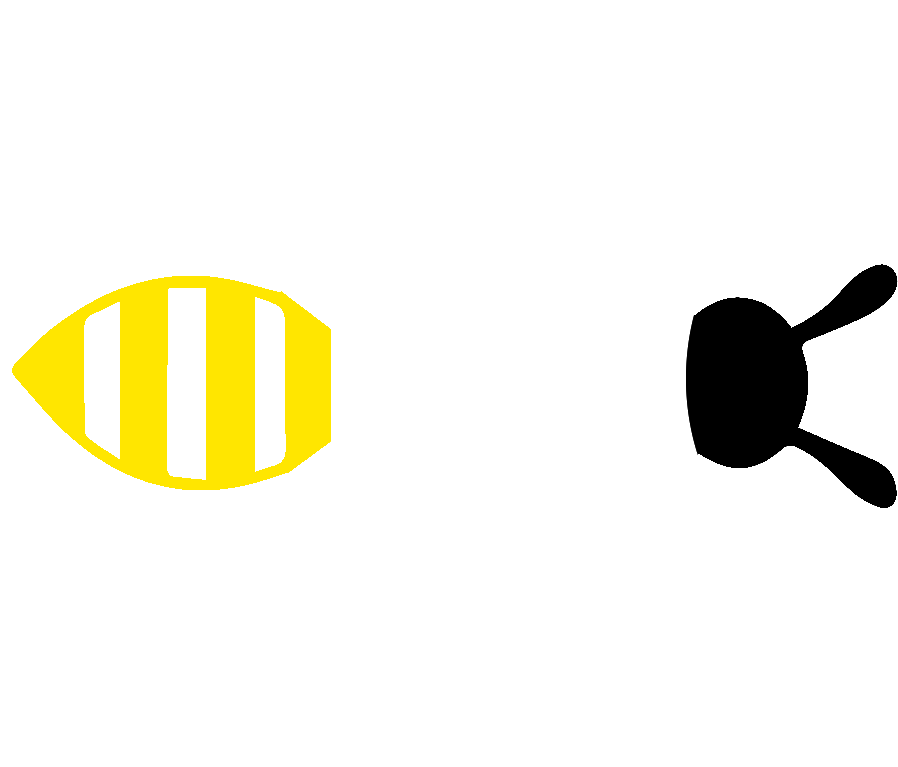
Once you have downloaded the file, upload it into Cricut Design Space and decide how large you want it to be. I made mine about 4 inches wide so I could fit several on the garland. Then separate the wings, head, and body of the bee by splicing it, and assign each piece the proper color.
(Head should be black, wings white, and body yellow.)
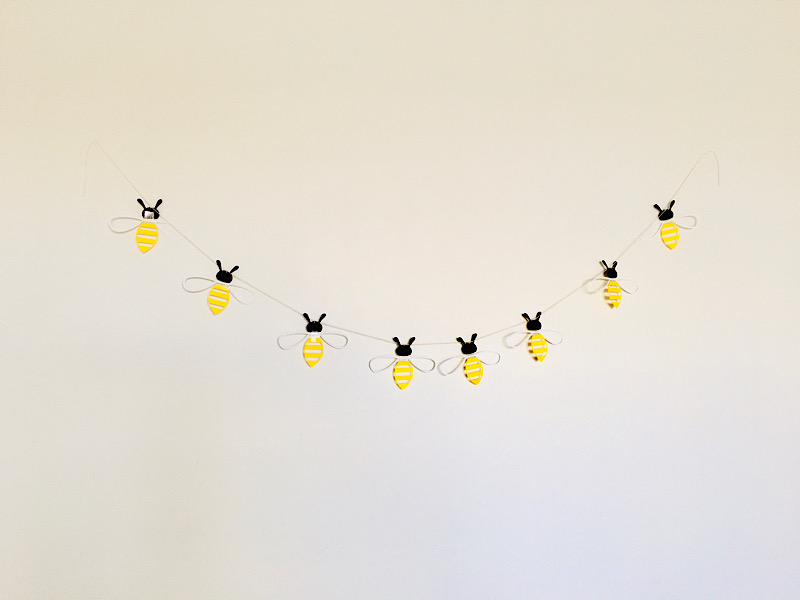
Cut out as many pieces as you will need for the length of garland you want to make. I made 8. Weed them and then place them in piles.
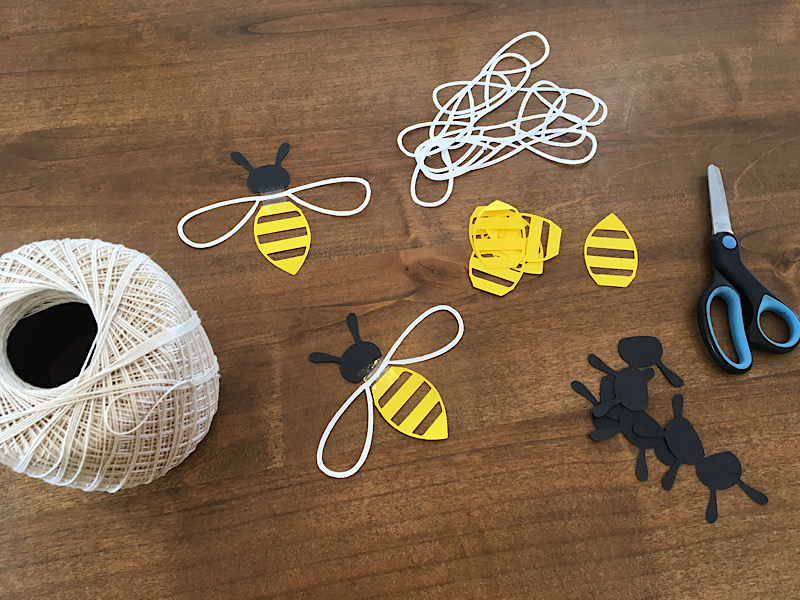
Step 2. Assemble The Bees
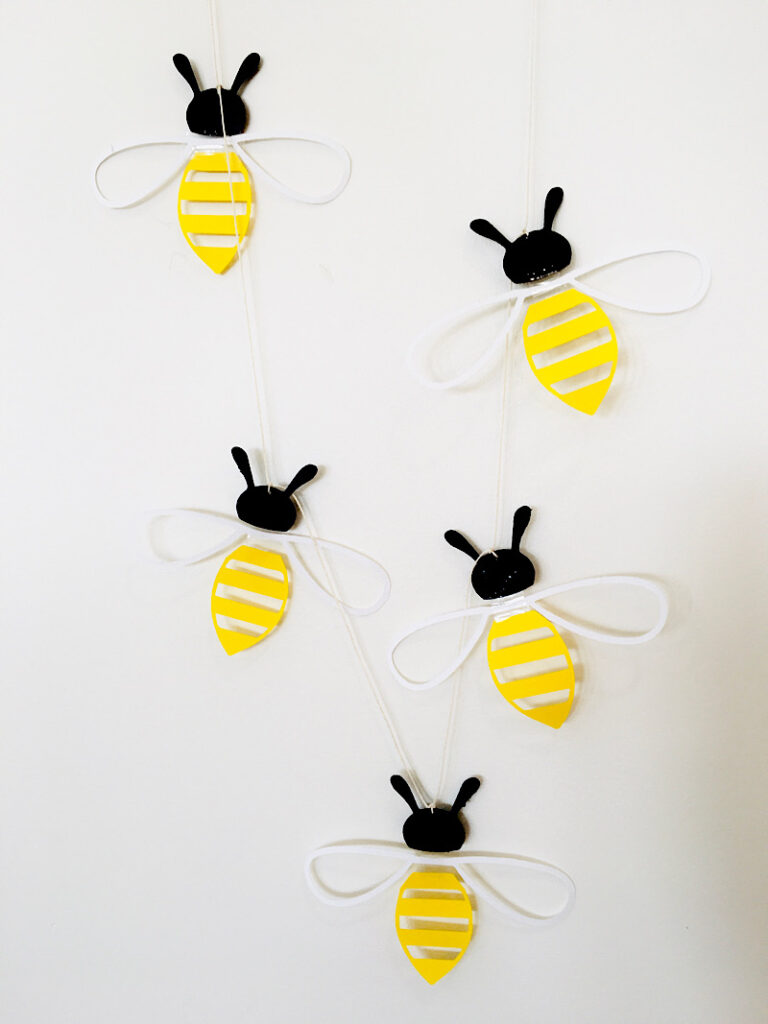
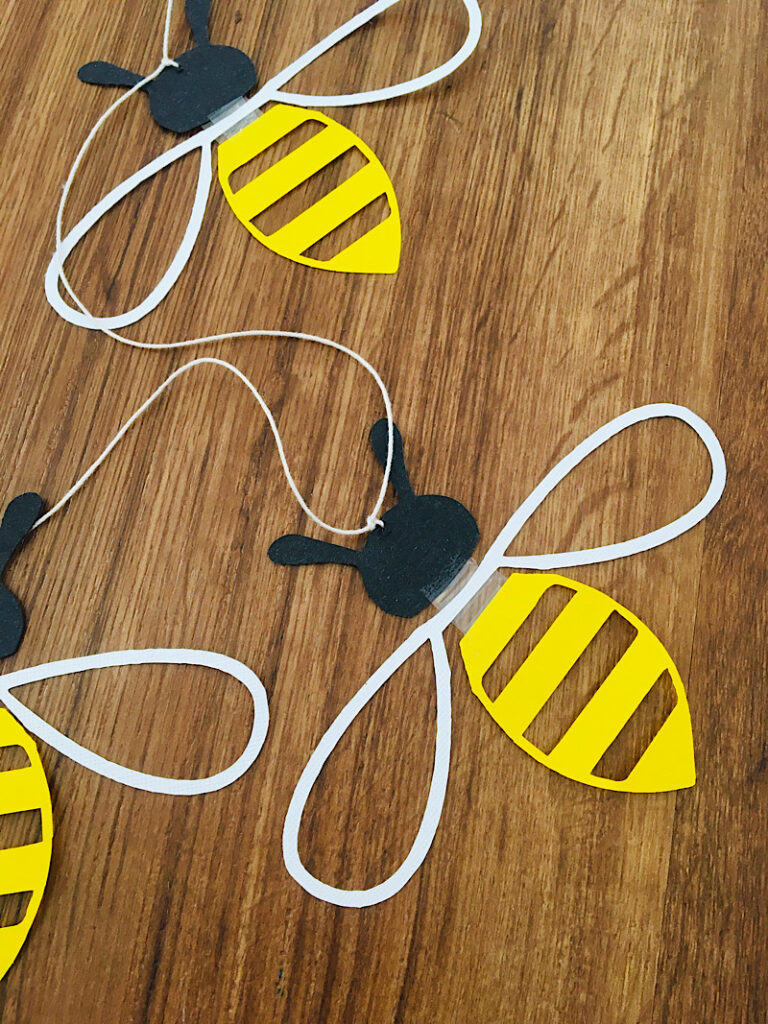
To make a bee, line up the pieces with a small space in between each piece (leaving a space gives them a delicate floating look). Then place a small square of clear tape on top so it catches all three pieces.

Then carefully pick up the bee and flip it over, and place another piece of tape on the back.
Repeat these steps to assemble all the bees.
Step 3. String The Garland
Punch a little hole into the center top of each bee’s head. Thread the end of the string through a bee and move it to the other other end, and leave a few inches of string to hang it with.
Tie the string into a double knot around the hole by wrapping the long string around the short one and back through the loop, twice.

Then thread the string through the next bee and slide the bee so it is a few inches away from the first, then double knot it in place as well.
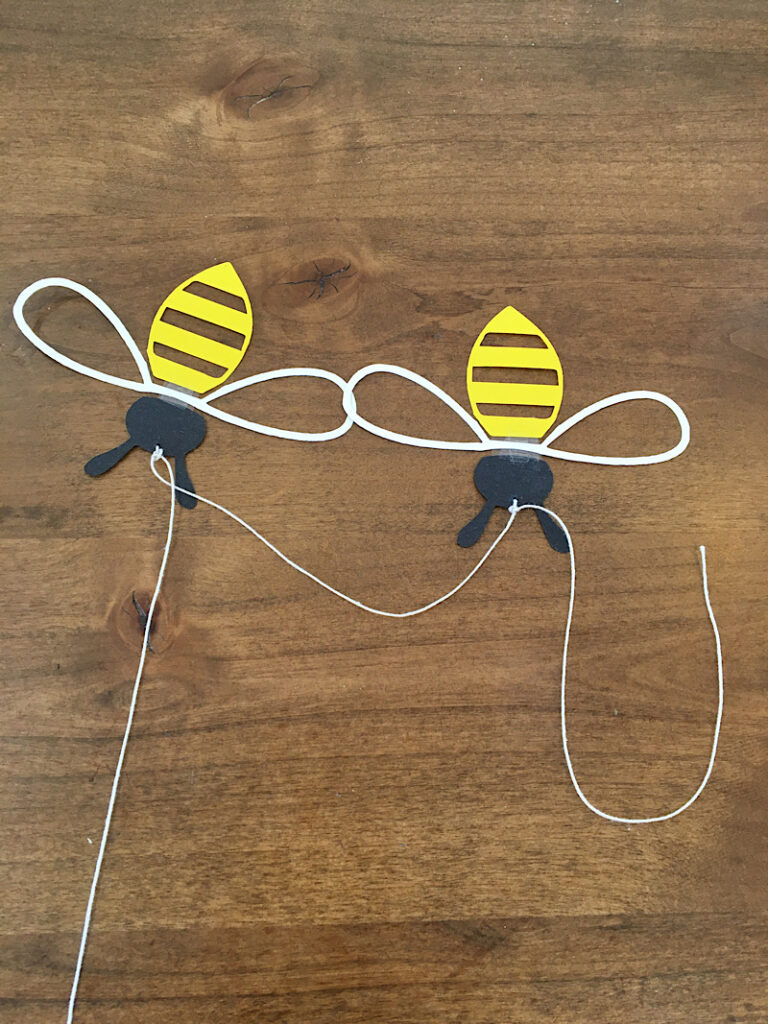
Continue tying the bees to the garland until you have finished them all.
That completes the tutorial! See how easy that was!
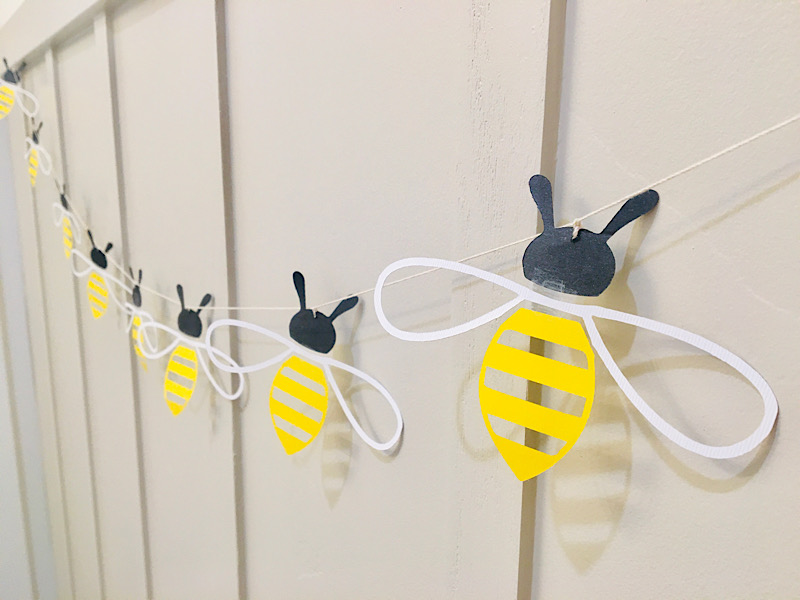
Now you can hang your honey bee garland and look at how cute it is.
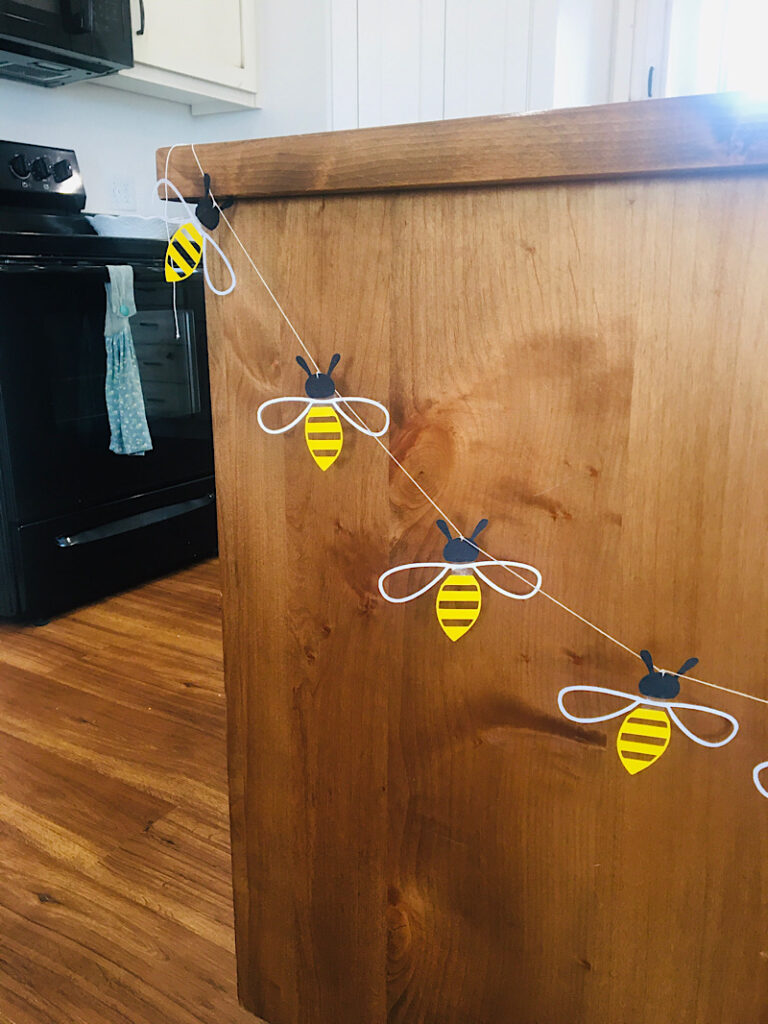
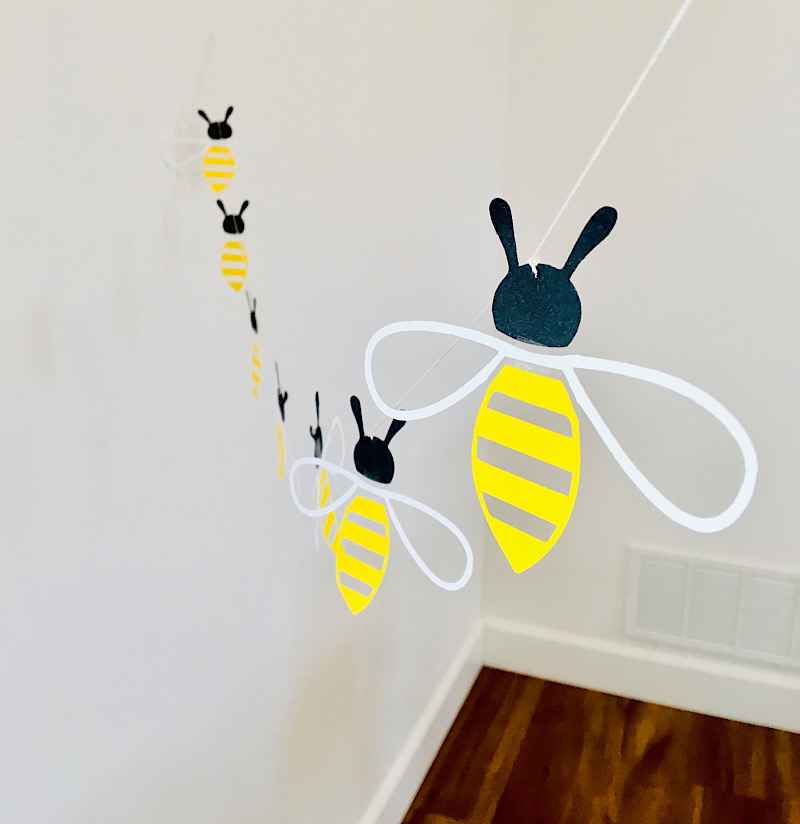
I especially like the little shadows it makes on the wall, and how it looks so delicate and like the bees are floating!

I think the craft would also look cute with the wings cut out of a very very light blue paper instead of white. You could also try using a fishing line instead of string to make the bees look like they are flying!
If you liked this bee craft then consider sharing in on Pinterest! Leave a comment below if you have any questions or need help!